SeaRanchLodge.com is a participant in the Amazon Associate program and will earn from qualifying purchases.
If you are reading this article, chances are you are a proud owner of a Blackstone grill. Or, calling it properly, a Blackstone griddle.
And whether it is a brand-new griddle or your fifth Blackstone griddle, the most important first step you absolutely cannot skip is to season your grill.
If you were randomly thinking about how to season a Blackstone grill, consider yourself lucky because this article will delve into the ins and outs of proper Blackstone seasoning.
Blackstone Grills

Blackstone griddles or grills have become a staple of outdoor cooking sessions and BBQ-ing since the first Blackstone griddle saw the light of day in 2008.
From that moment on, Blackstone made it its mission to deliver restaurant-quality food through its state-of-the-art griddles, pizza ovens, and accompanying accessories.
But restaurant quality food requires restaurant quality care. And such a quality of care means learning how to season a Blackstone grill.
Never mind which Blackstone griddle you own (ranging from 17 to 32 inches), the seasoning process is paramount to ensure that every subsequent cook is of the highest quality.
Thankfully, Blackstone offers all the necessary equipment for the upkeep of your grill/griddle on their website.
About Blackstone
According to their website, Blackstone started as an idea – an idea that cookouts should be a time when everything is cooked outside, together, in a family atmosphere.
With their first Blackstone griddle in 2008, they created a surface where that idea became a reality! All the staple cookout food could now be cooked in one place.
Gone were the days of grilling in the yard, while the rest of the food was being prepared in the kitchen, with the family not really spending time together.
Today, Blackstone griddles have become a proper brand. One can easily purchase their state-of-the-art griddles, but their offerings do not stop there.
Everything your griddle needs can also be bought from the same company, along with recipes and seasonings. And in case grilling and griddling isn’t your jam, you can buy a Blackstone pizza oven.
How to Season a Blackstone Grill
First of all – seasoning a grill or griddle is not the same as seasoning a steak.
By seasoning here we mean the preparation of the cooking surface for, well, cooking. That means applying protective layers which the surface will soak up and coat itself with.
To do that we need special seasoners and conditioners that will help our grills and griddles stay usable and provide us with some tasty food for years to come.
After properly seasoning your Blackstone, you will basically have a non-stick surface available for use.
To season your Blackstone griddle, we recommend that you complete the following steps.
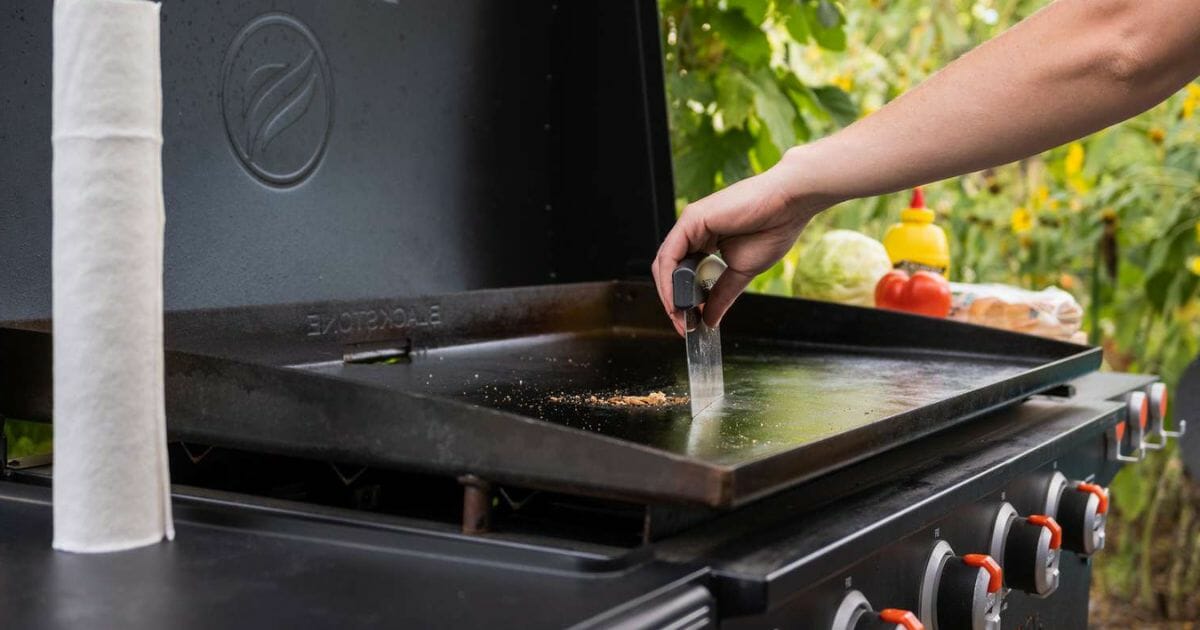
- Clean your surface with soapy water.
- Heat the grill surface until its color changes.
- Add 2-3 tablespoons of seasoning to the grill and spread it out thin, smooth, and even.
Let’s go through the entire process on how to season a Blackstone grill step-by-step!
Step 1 – Wash with Soapy Water

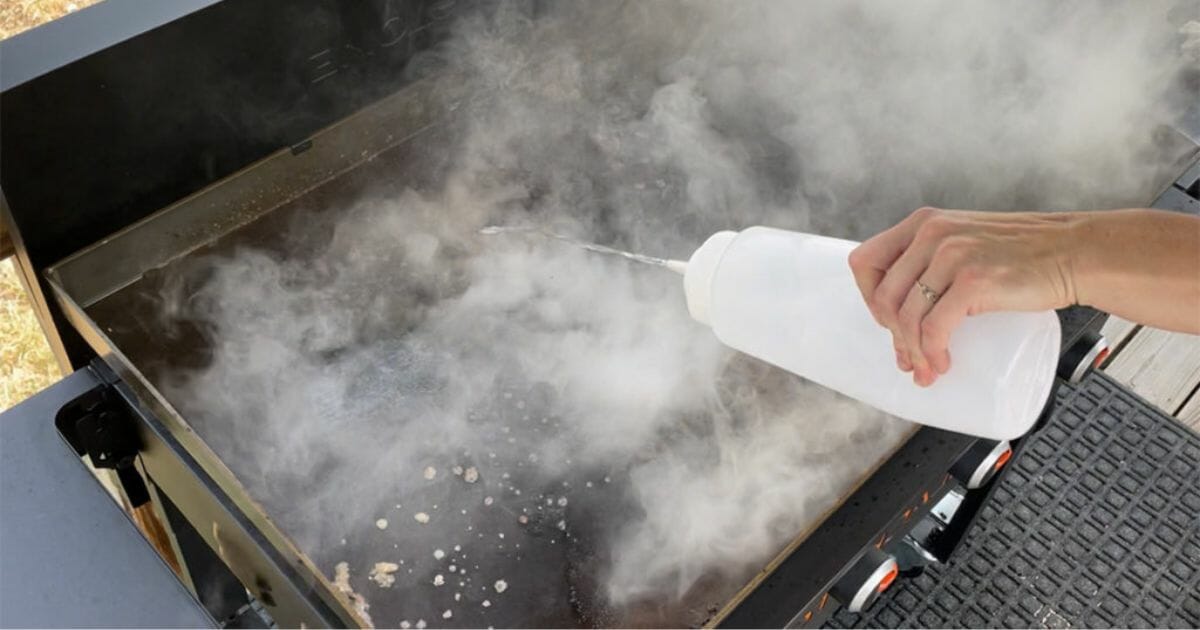
Poor some soapy (mild soap is ok) water on the griddle, and then rinse with clean water. Clean water is the best because of the lack of any contaminants.
Make sure that the heat is not turned on. You don’t want to accidentally burn yourself before you start cooking!
Step 2 – Pre-Heat Until the Color Changes
The color will change around 15-20 minutes after the grill is set to high heat. You will eventually see the griddle get a bit darker.
Every burner on your Blackstone griddle should be set to high heat so you can get the absolute best results on this step of the process.
Fifteen minutes might seem like a lot, but this step is of paramount importance so make sure the color of the grill has changed before continuing.
Step 3 – Seasoning

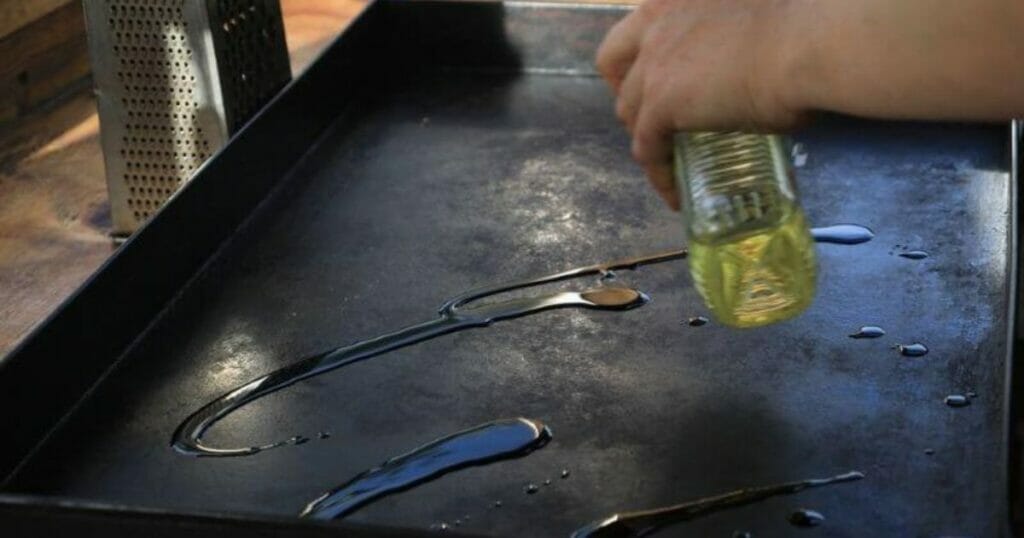
Once the grill top is ready, take 2-3 tablespoons of seasoning oil and put it in the middle of the cooking surface.
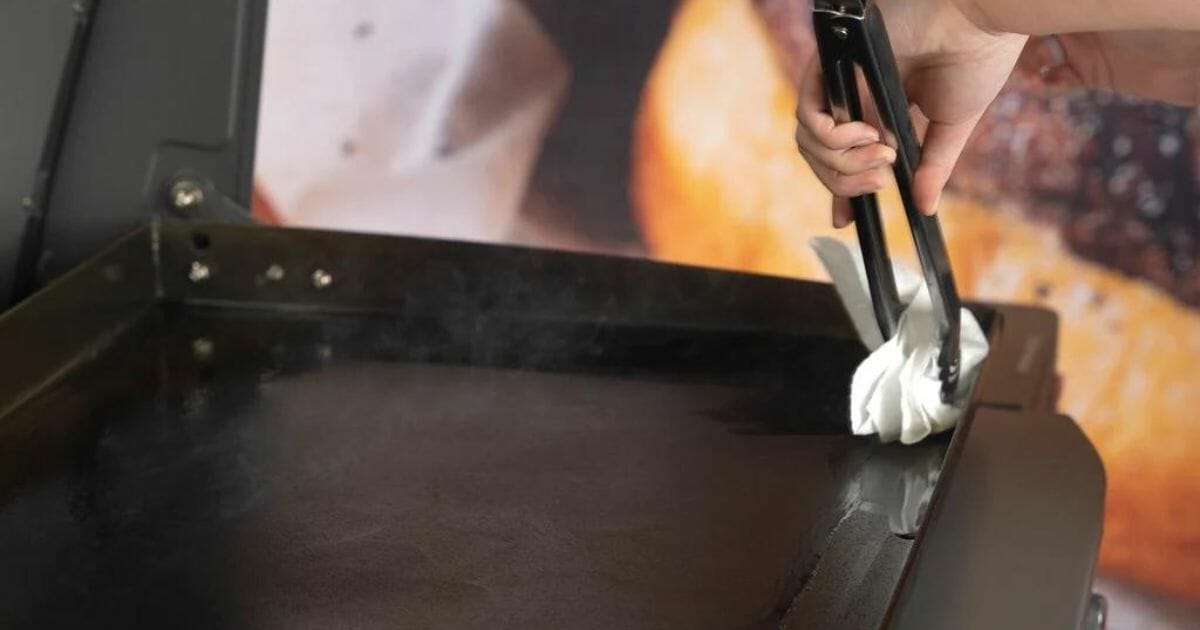
Then, take a tong and a clean paper towel and spread the initial seasoning evenly and smoothly onto the hot griddle surface. It’s ok to do this step with heat-resistant gloves, you don’t want to get a nasty burn!
Make sure that the layer of seasoning is thin and evenly spread out, so take your time with this step.
If there’s too much seasoning anywhere on the surface, it will become brittle and chip off later on.
It’s important to cover every bit of the griddle surface with a light layer of seasoning – even the back and sides of the grill.
Once you do step 3, wait for another 15 minutes and repeat the whole process. And again, pay attention to the way you spread the seasoning so that the entire surface is covered.
After this repetition, the oil will start to smoke which is when it has started to bond with the steel of the griddle surface.
When the smoke settles down, repeat step 3 once again. And maybe once again after that.
Doing it 4 or even 5 times is perfectly normal as long as it ensures that the grill is properly seasoned.
Additional Notes
Never use animal fat on your first cook on the Blackstone griddle – the griddle surface is prone to chip and become brittle afterward. Rust spots are also an unwanted possibility.
This is because of the salts and nitrates present in animal fat (like bacon fat). If you’re using the grill constantly, animal fats are completely fine.
You can consider the seasoning process as chemistry and not necessarily cooking.
By applying these seasoning oils on a clean griddle, we are stacking layers upon layers of protection and basically creating a homemade polymer.
Now You’re a Seasoned Pro
With all this inside knowledge, you can consider yourself a seasoned pro, ready to take on any grill and griddle around the globe.
With all the tips you’ve learned here the only thing left for you to do is put them into practice.
So grab a hold of a bottle of the nearest seasoning and conditioner, follow the 3 step program on how to season a Blackstone grill, and rule over your well-seasoned griddle with pride.


